
For this you will need:
1. pretty cardstok ( I used a BoBunny heavy cardstock "Sophie")
2. matte or gel medium ( you can use mod podge or any glue)
3. acrylic paint and brush
4. piece of round wood or plywood (or any shape you want your clock to be; mine is 10 inches in diameter)
5. clock mechanism
6. number stickers or rub-ons, markers or anything to make the numbers. I used embossing powder and embossing pen (VersaMarker watermark pen).
7. battery
I know that the clock mechanism can be a bit expensive, as well as, the wood panel depending on its size; a good alternative is visiting the kids section of your craft store or department stores and look for clock kits. I used a kit that I found at the kids craft section at my local Wal-Mart for just $10; which is a great deal.
In the video below you can see a time lap of how I made my clock, however below it are some tips and what I would have done in a different order, and think it would work better.
Tips:
1. Place the wood piece over the decorative paper and lightly trace its shape with a pencil. Make sure that you place the wood or your clock base covering the part of the design that you want as focal point in your clock.
2. Use a circle cutter (if your clock is circular) or scissors to cut out the paper.
3. Paint the borders before pasting the decorative paper.
4. Apply matte medium or any adhesive you are using, liberally on the wood surface and place your paper. Make sure you make the center whole in your paper prior to pasting it, it will help as reference to keep your paper center.
5. Add the numbers, using stencils, sticker, rub-on, markers or any way you like. (you don't have to add numbers if you don't want to).
6. Add the hanging piece on the back before installing the clock mechanism.
7. Install the clock mechanism and add the battery. The kits and even the separated mechanism comes with instructions on how to do it.
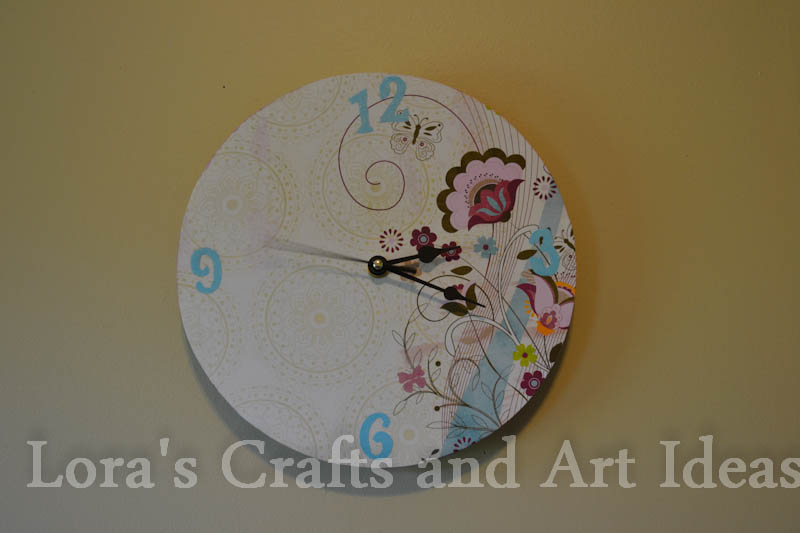
8. Hang it in the wall and enjoy it.